How to Build a Chicken Coop: A Step-by-Step DIY Guide
How to Build a Chicken Coop: A Step-by-Step DIY Guide
Building a chicken coop from scratch is one of those projects that looks simple on paper and turns into a genuine test of planning once the lumber shows up. Anyone who has spent a weekend measuring, cutting, and re-measuring boards knows the gap between a Pinterest photo and a structure that actually keeps birds safe, dry, and comfortable through a full year of weather.
This guide walks through the practical process of how to build chicken coop structures that hold up over time, rather than just looking good for the first few months. It covers the planning decisions that shape everything downstream, a construction sequence you can follow in order, and the mistakes that show up again and again in coops built without a clear plan. Whether you are working from purchased blueprints or sketching your own layout, the goal here is the same: a coop that protects birds, holds up to weather, and doesn't require a rebuild by next spring.
Planning Your Chicken Coop Build
Before a single board gets cut, a few decisions determine whether the rest of the project goes smoothly. Site selection is the first one people underestimate. A coop placed in a low spot collects runoff every time it rains, which turns bedding into a soggy mess and invites respiratory issues. Elevated, well-drained ground with partial shade tends to work best, since it balances winter sun exposure with summer cooling.
Sizing is the second major decision, and it's where many first-time builders go wrong in both directions. Undersized coops lead to feather-picking, stress, and disease spread, while oversized coops waste materials and heat poorly in cold climates. Reviewing chicken coop size requirements before finalizing a floor plan saves a lot of rework later, since framing dimensions, roof pitch, and door placement all depend on the footprint you settle on.
It's also worth checking local ordinances at this stage rather than after the coop is built. Some municipalities regulate structure height, setback from property lines, or total flock size, and a coop that violates a local code can mean forced modifications down the line. A quick call to a local zoning office or extension service usually clears this up in a few minutes.
One frequently overlooked factor is access for future maintenance. A coop designed without a human-sized door or removable panel becomes a nightmare to clean once bedding, droppings, and dust accumulate. Building in a full-sized access door, even if it feels unnecessary at the planning stage, pays off every single week afterward.
Takeaway: the decisions made before construction begins, site, size, and access, influence the coop's usability far more than any material choice does later.
DIY Chicken Coop Step by Step Construction
Once the plan is set, the actual build follows a fairly predictable sequence. Working through it in order, rather than jumping between tasks, keeps the structure square and prevents the kind of small errors that compound into big problems by the roofing stage. The steps below reflect a typical DIY chicken coop step by step approach used in building chicken coop plans sold by hobby farm suppliers and extension offices alike.
Step 1: Build the Foundation and Floor
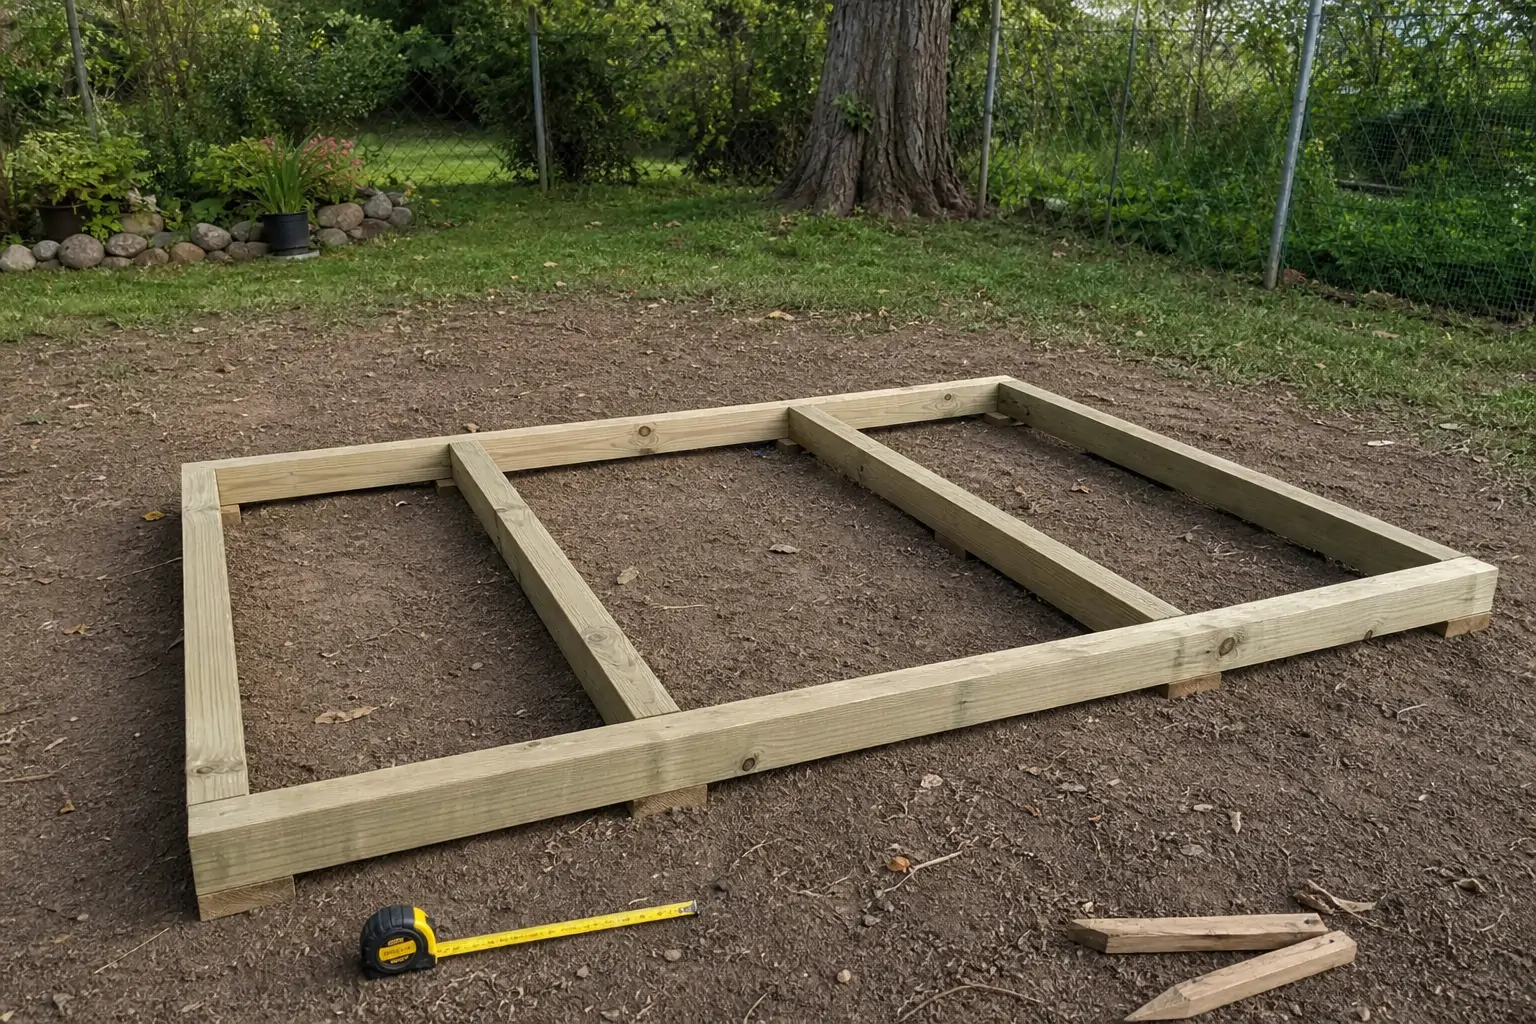
A stable foundation keeps the coop level and off damp ground, which matters more than most new builders expect. Concrete blocks, pressure-treated skids, or a raised platform all work, depending on climate and budget. The floor itself should be solid plywood, ideally sealed or covered with vinyl to resist moisture absorption.
Flooring material choice affects long-term maintenance more than almost anything else in the structure. Comparing chicken coop flooring options at this stage, including sand, deep litter setups, and sealed plywood with removable trays, helps determine how often cleaning will be required and how well the floor resists rot.
Step 2: Frame the Walls and Roof
Standard 2x4 framing is sufficient for most backyard coops, though colder regions benefit from slightly thicker wall cavities to accommodate insulation. The roof should be pitched enough to shed rain and snow, with an overhang that keeps water away from the walls and any ventilation openings.
This is also the stage where chicken coop ventilation design has to be built into the structure rather than added afterward. Ventilation openings near the roofline, positioned above roost height, allow warm, moist air to escape without creating a direct draft on the birds below. Skipping this step is one of the more common structural oversights in homemade builds.
Step 3: Add Ventilation, Windows, and the Pop Door
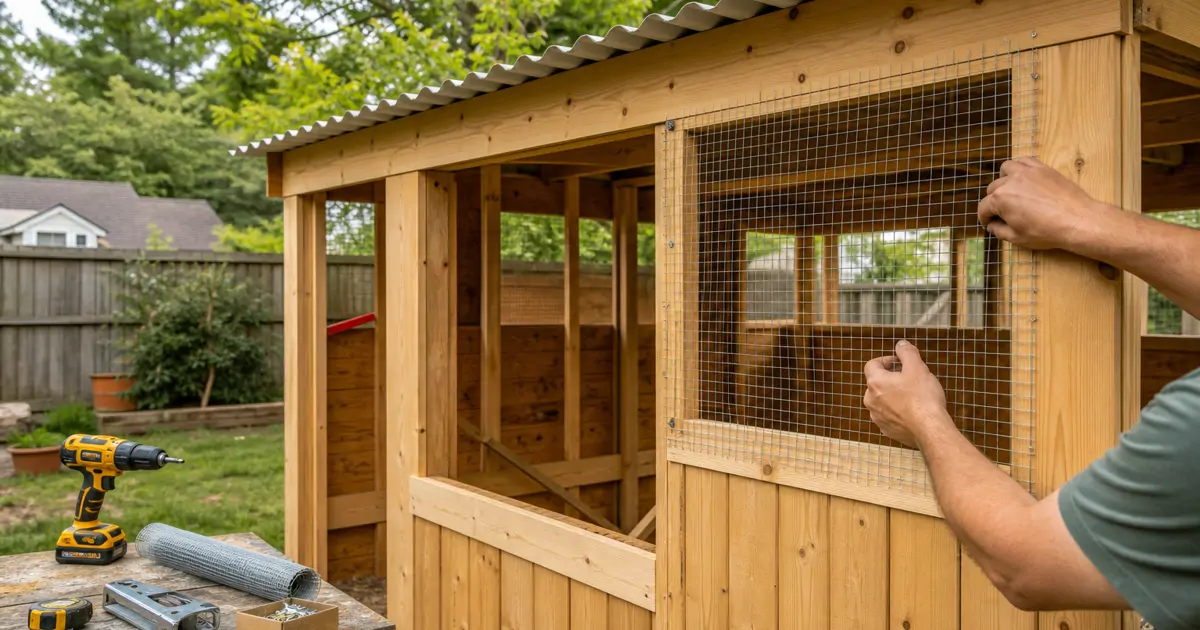
With framing complete, window and vent openings get cut and covered with hardware cloth, never standard chicken wire, since raccoons and weasels can tear through the thinner mesh. The pop door, the small exit chickens use to access the run, needs careful sizing. Getting pop door dimensions wrong is a surprisingly frequent issue; too small and larger breeds struggle to pass through, too large and it becomes harder to secure against predators overnight.
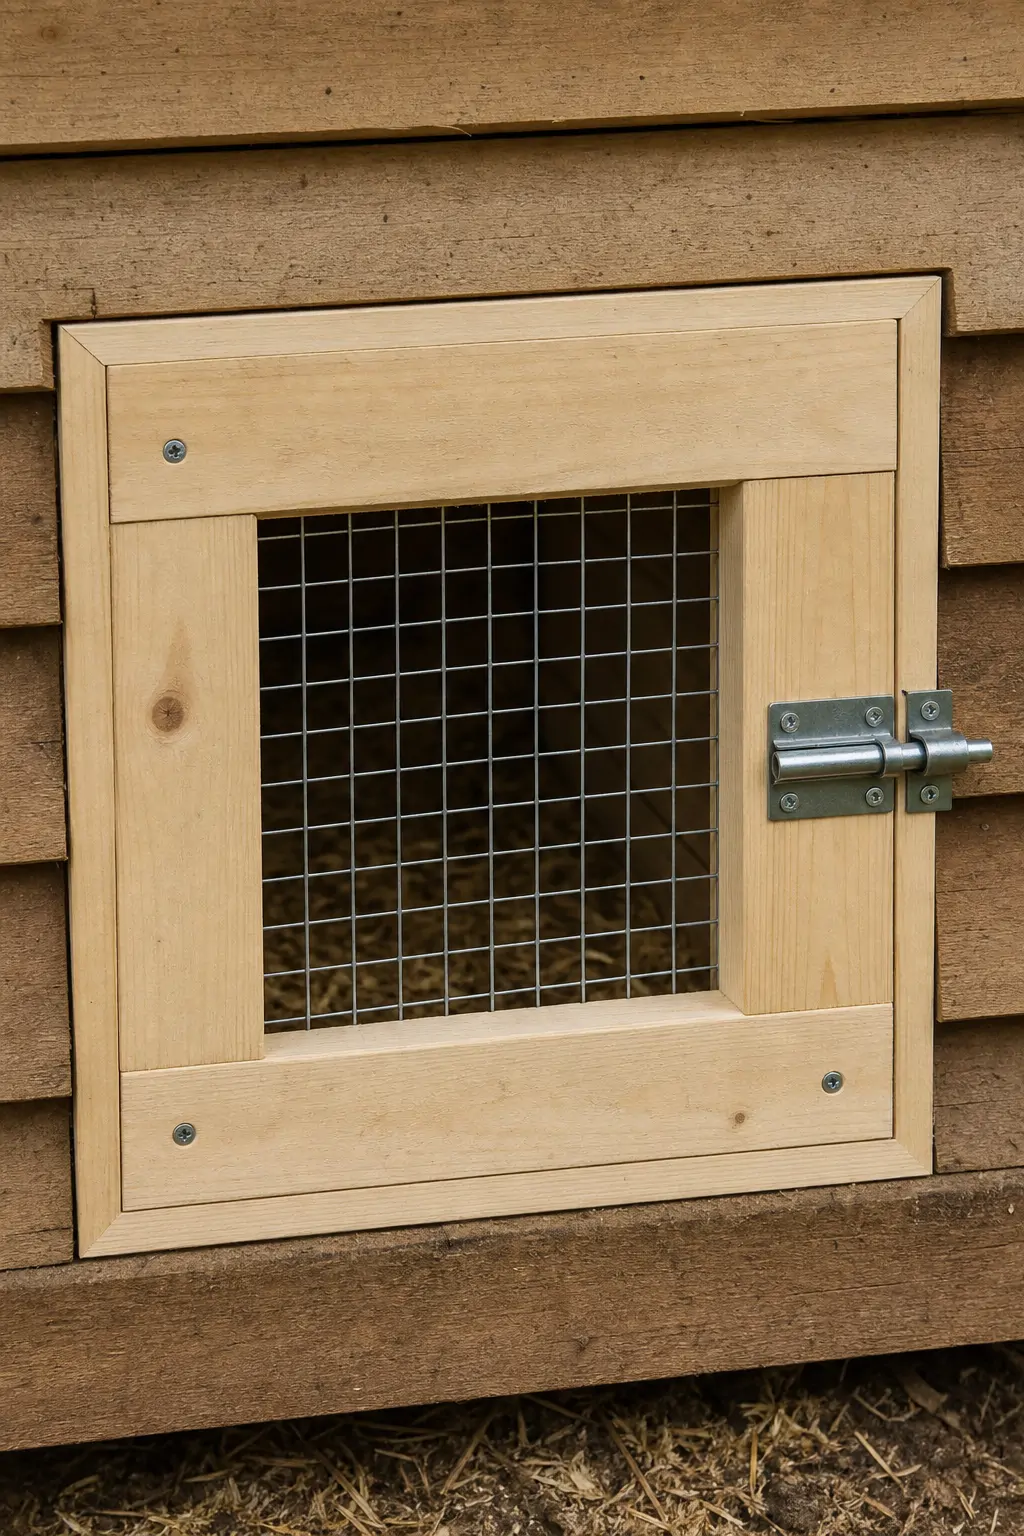
Many builders now integrate an automatic chicken door opener at this stage, wiring it into the framing before siding goes on rather than retrofitting it later. Planning for this early avoids awkward cable runs or having to cut into finished walls down the road.
Step 4: Install Roosts, Nesting Boxes, and Predator-Proofing
Roosting bars go in above the nesting boxes, never below or level with them, since chickens naturally seek the highest point to sleep and will avoid nest boxes used as sleeping platforms if roost positioning encourages it. Nesting boxes themselves should be slightly enclosed and dim, encouraging birds to lay rather than wander. A thoughtful chicken nesting box setup at this stage reduces floor-laying and egg breakage significantly.
Predator-proofing is the final, and arguably most important, structural task. Hardware cloth should be buried a few inches into the ground around the perimeter to stop digging predators, and every latch should require more dexterity than a raccoon's paws can manage. A secure predator proof run attached to the coop extends this protection beyond the structure itself.
Takeaway: following the framing-to-finishing sequence in order, rather than skipping ahead to decorative details, produces a structurally sound coop that needs far fewer repairs later.
Common Mistakes When Building a Backyard Coop
Even experienced DIYers repeat a handful of errors when tackling chicken coop construction for the first time. Recognizing them in advance is often more useful than any single how-to step, since these mistakes tend to surface months after the build, once weather and flock behavior expose the weak points in a homemade chicken coop.
Undersizing is the most common issue, usually driven by underestimating how much a flock grows over a season or how much space birds need during molting or bad weather when they're confined longer than usual. A second recurring problem is treating ventilation as optional; a coop that feels warm and snug in October can become a humid, ammonia-heavy box by January if airflow wasn't designed in from the start.
Material selection causes headaches too. Untreated wood exposed to droppings and moisture breaks down far faster than most people expect, sometimes within two or three seasons. Using cost-effective but appropriate materials, like exterior-grade plywood and galvanized hardware, extends the coop's usable life considerably compared to whatever scrap lumber happens to be on hand.
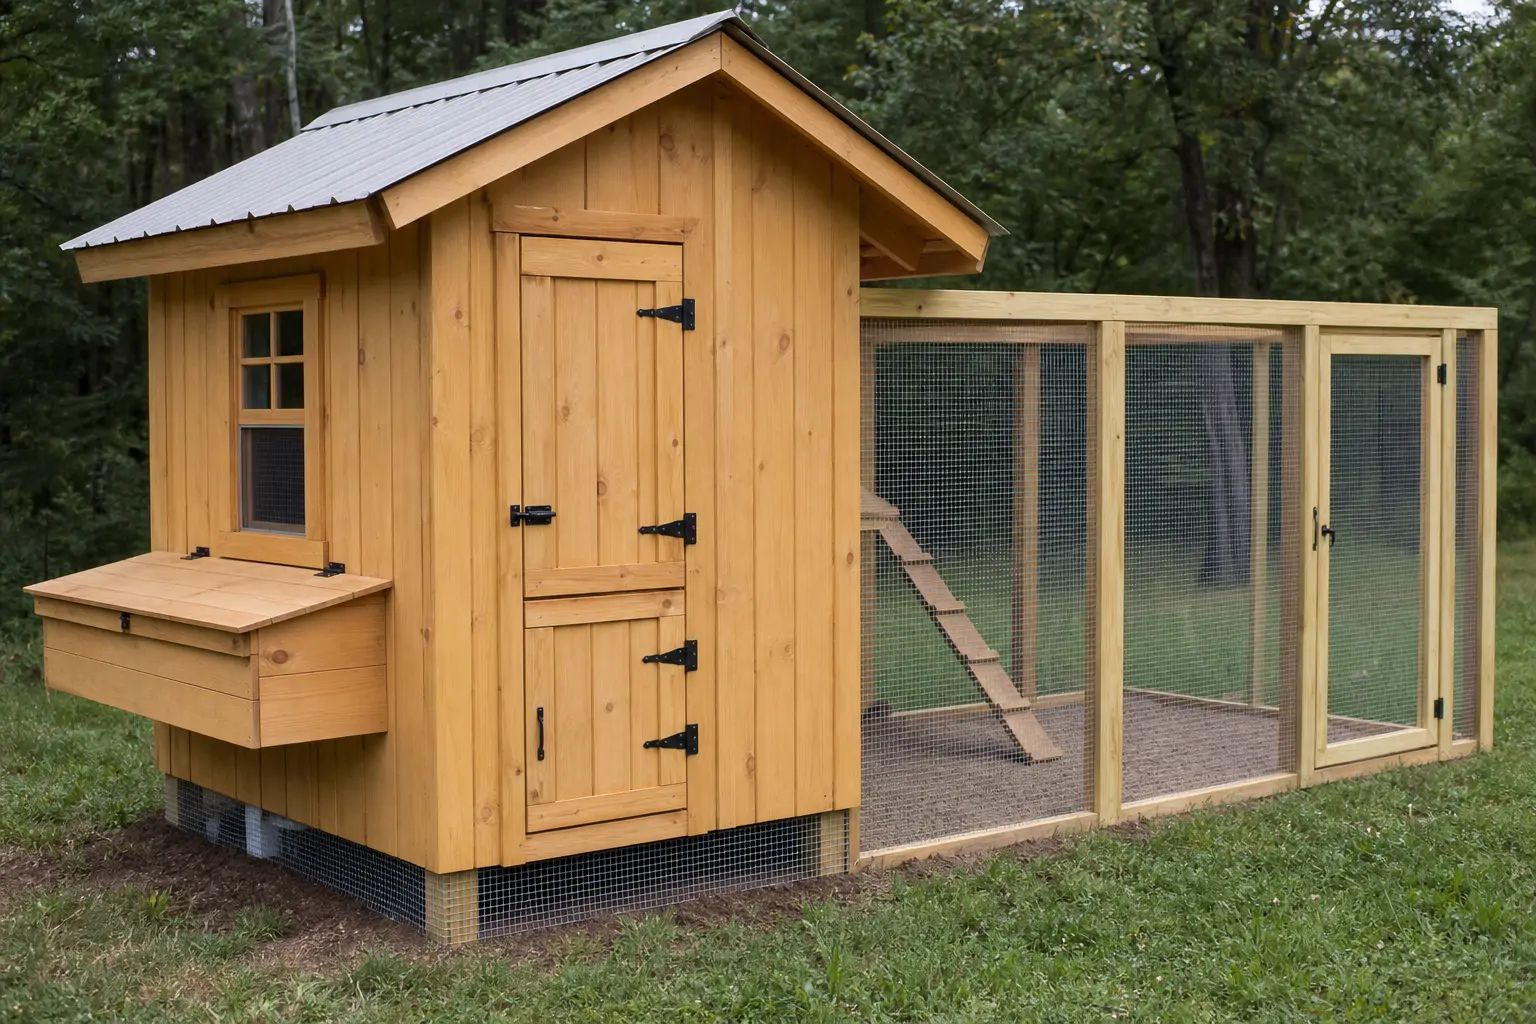
Finally, many builders finish the main structure and treat the run as an afterthought, bolting on a flimsy enclosure once the coop itself is done. Investing similar thought into chicken run design ideas as went into the coop pays off, since the run is where birds spend most of their waking hours and where predator pressure is often highest.
Takeaway: most coop failures trace back to shortcuts taken during planning or material selection, not to poor carpentry skills.
A well-built coop rarely announces itself with anything dramatic. It just quietly does its job, season after season, keeping birds dry, safe, and comfortable without constant patchwork repairs. Getting there takes a bit more upfront planning than many first-time builders expect, but the payoff is a structure that supports a healthy flock for years rather than one that needs rebuilding after the first hard winter.
Whether following purchased blueprints or designing a layout from scratch, the same principles apply: site the coop thoughtfully, size it realistically, ventilate it properly, and build in predator protection from day one. Those fundamentals matter far more than any single material choice or decorative flourish.